Select project with interests
Go to the projects page and select at project where you have saved interests.
In case you don't any projects or one with interests, follow this guide: How to save your interests in a project, which also have a section on how to find interests for your projects.
Add layers
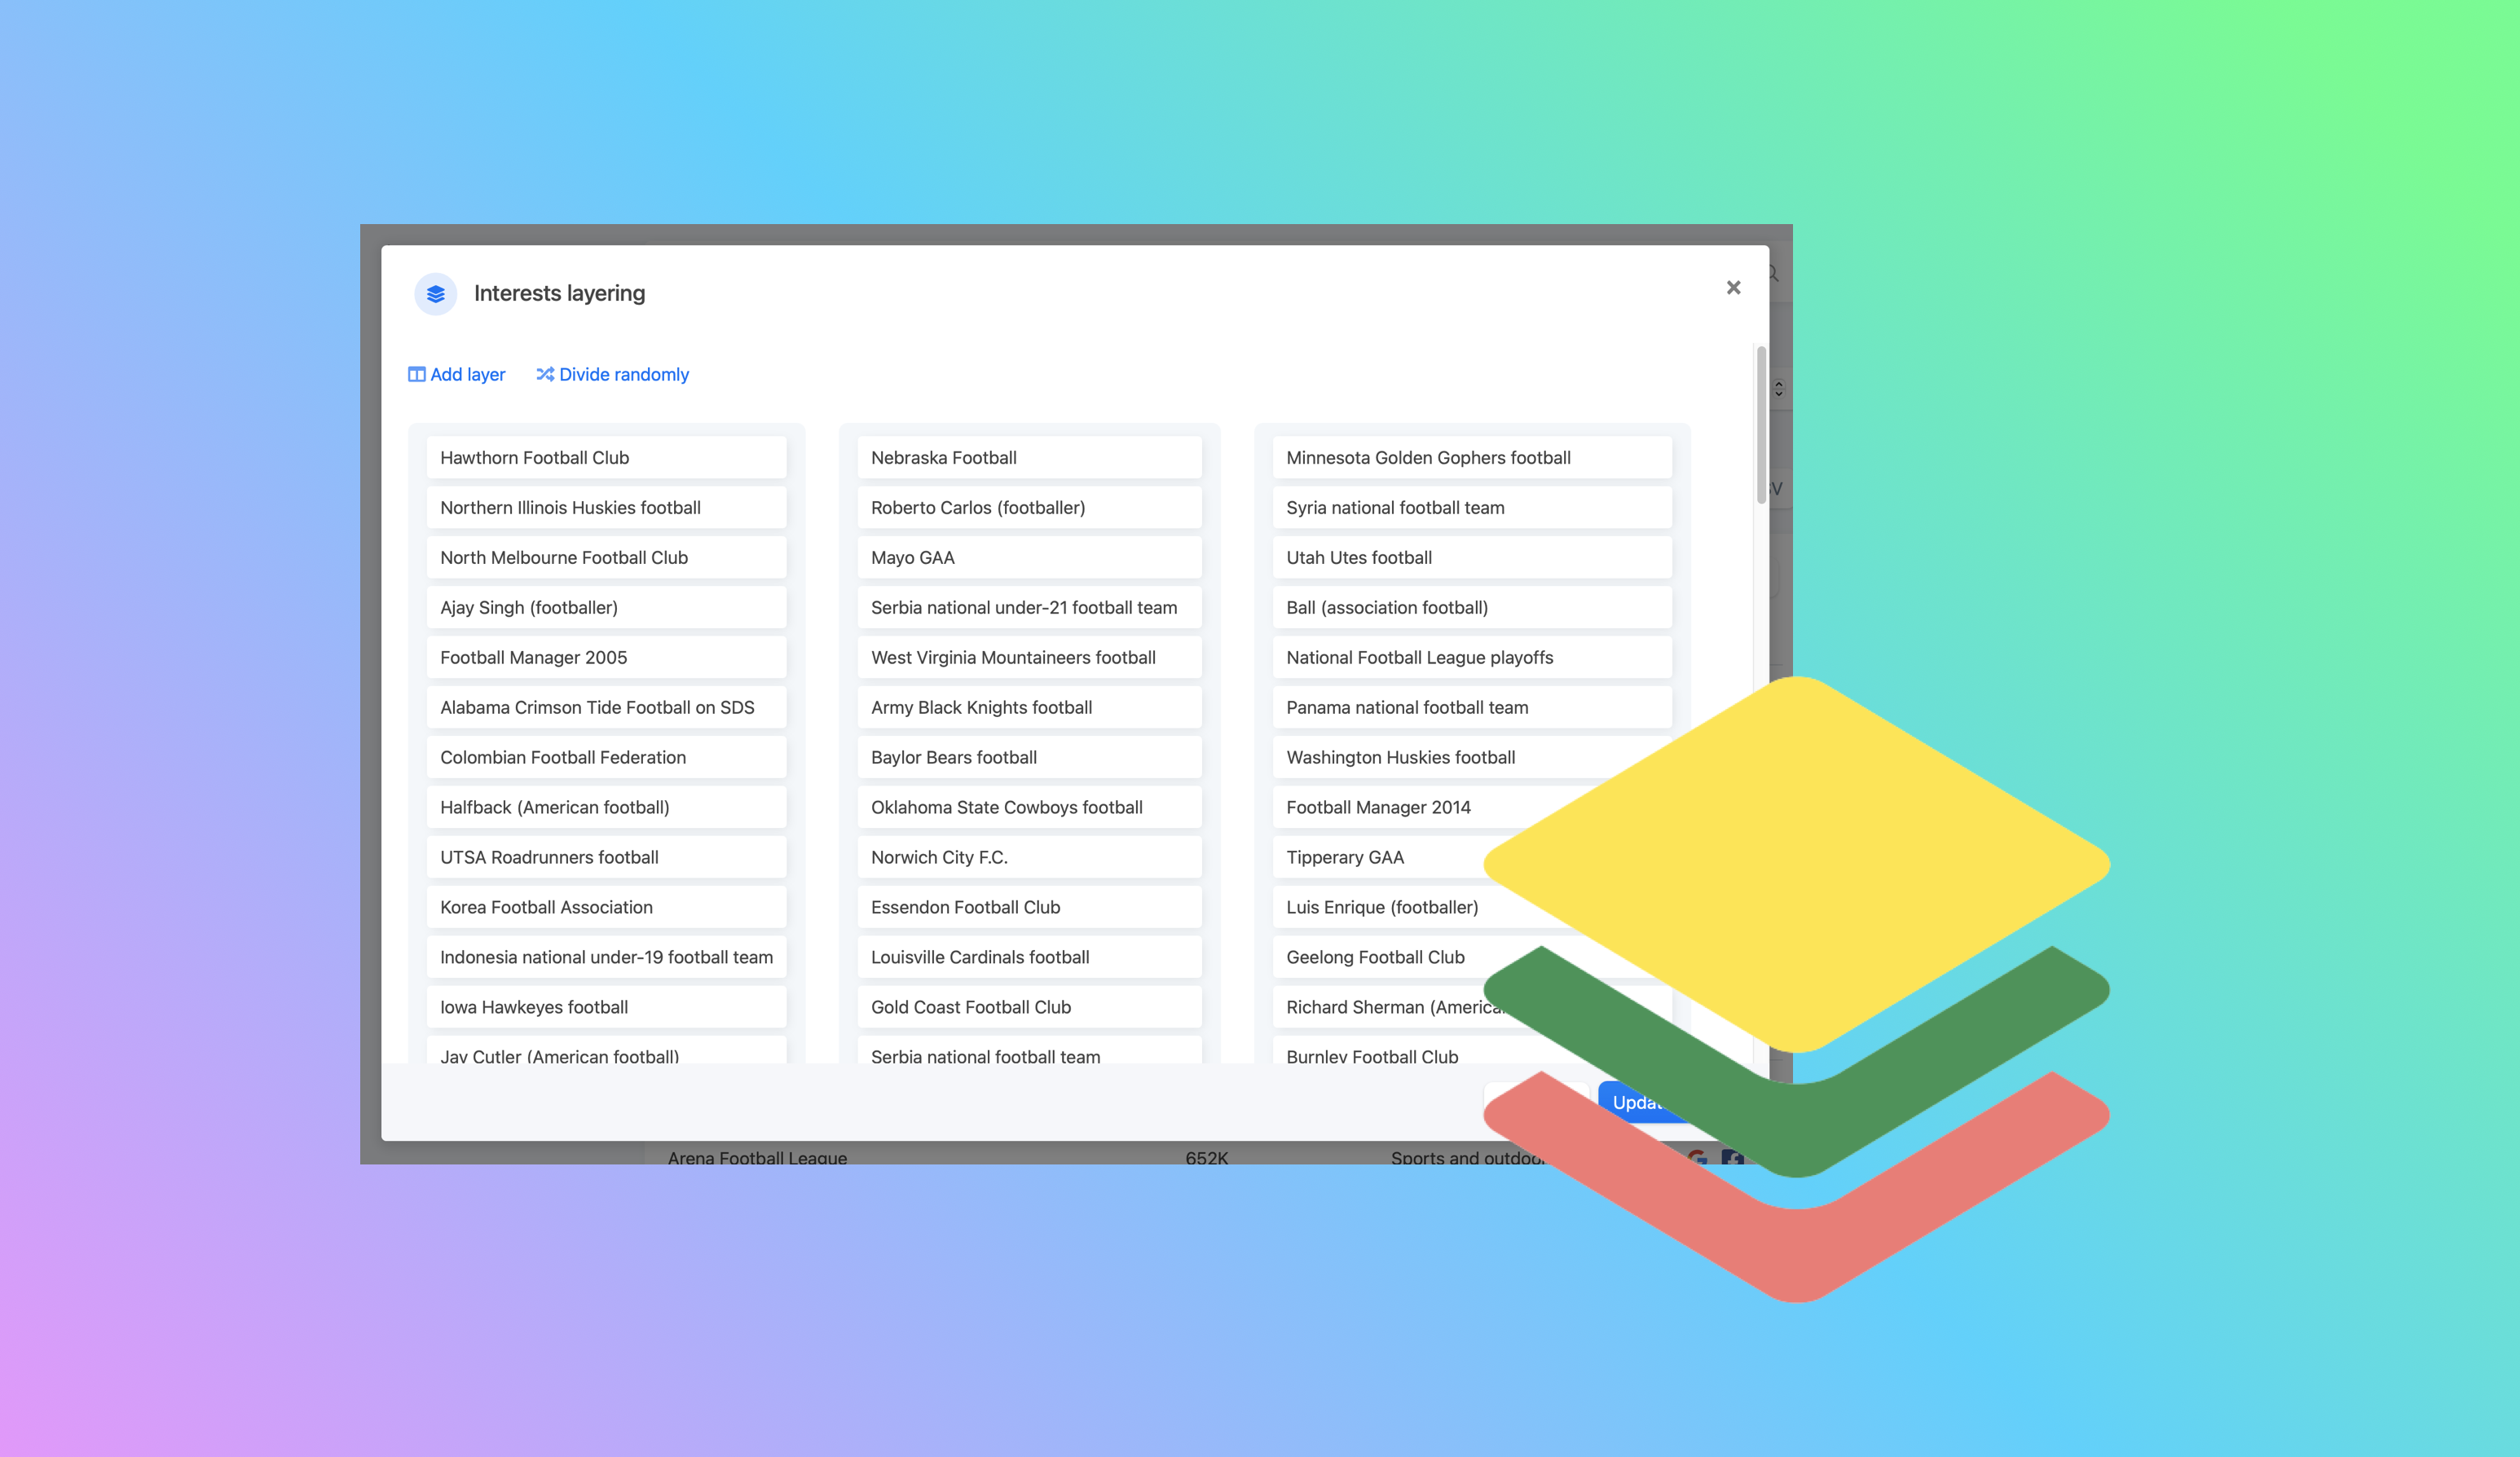
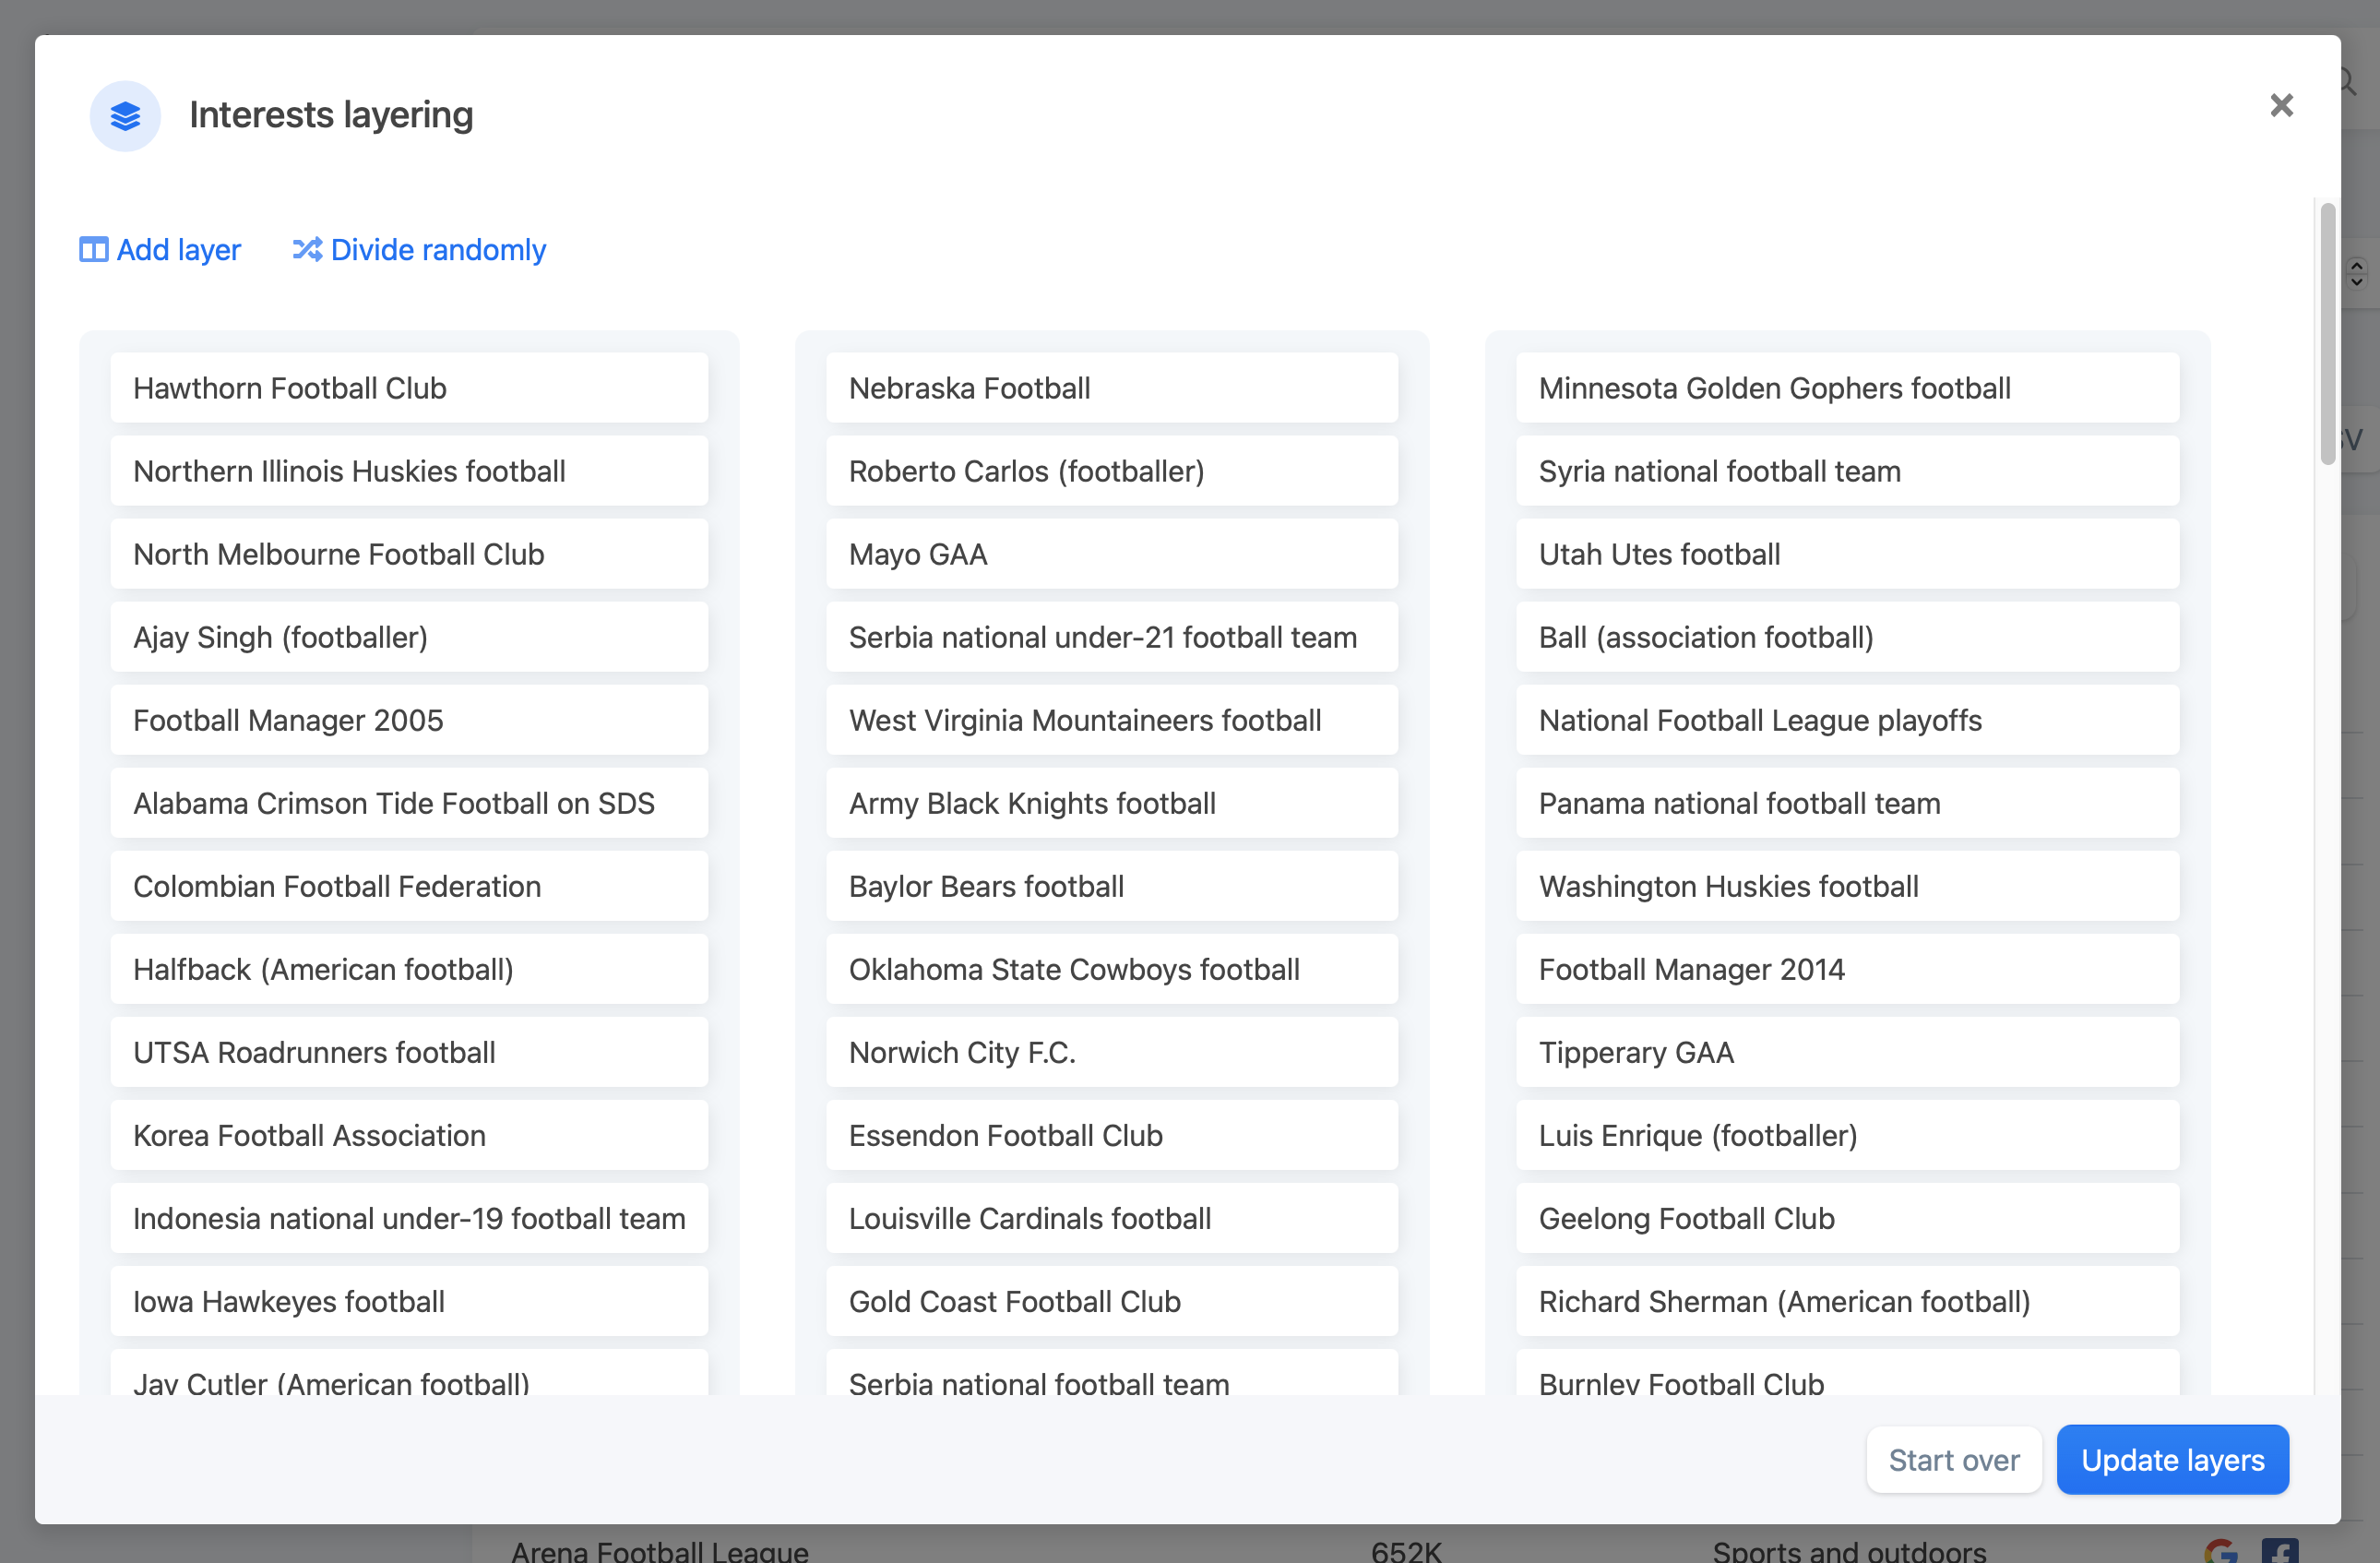
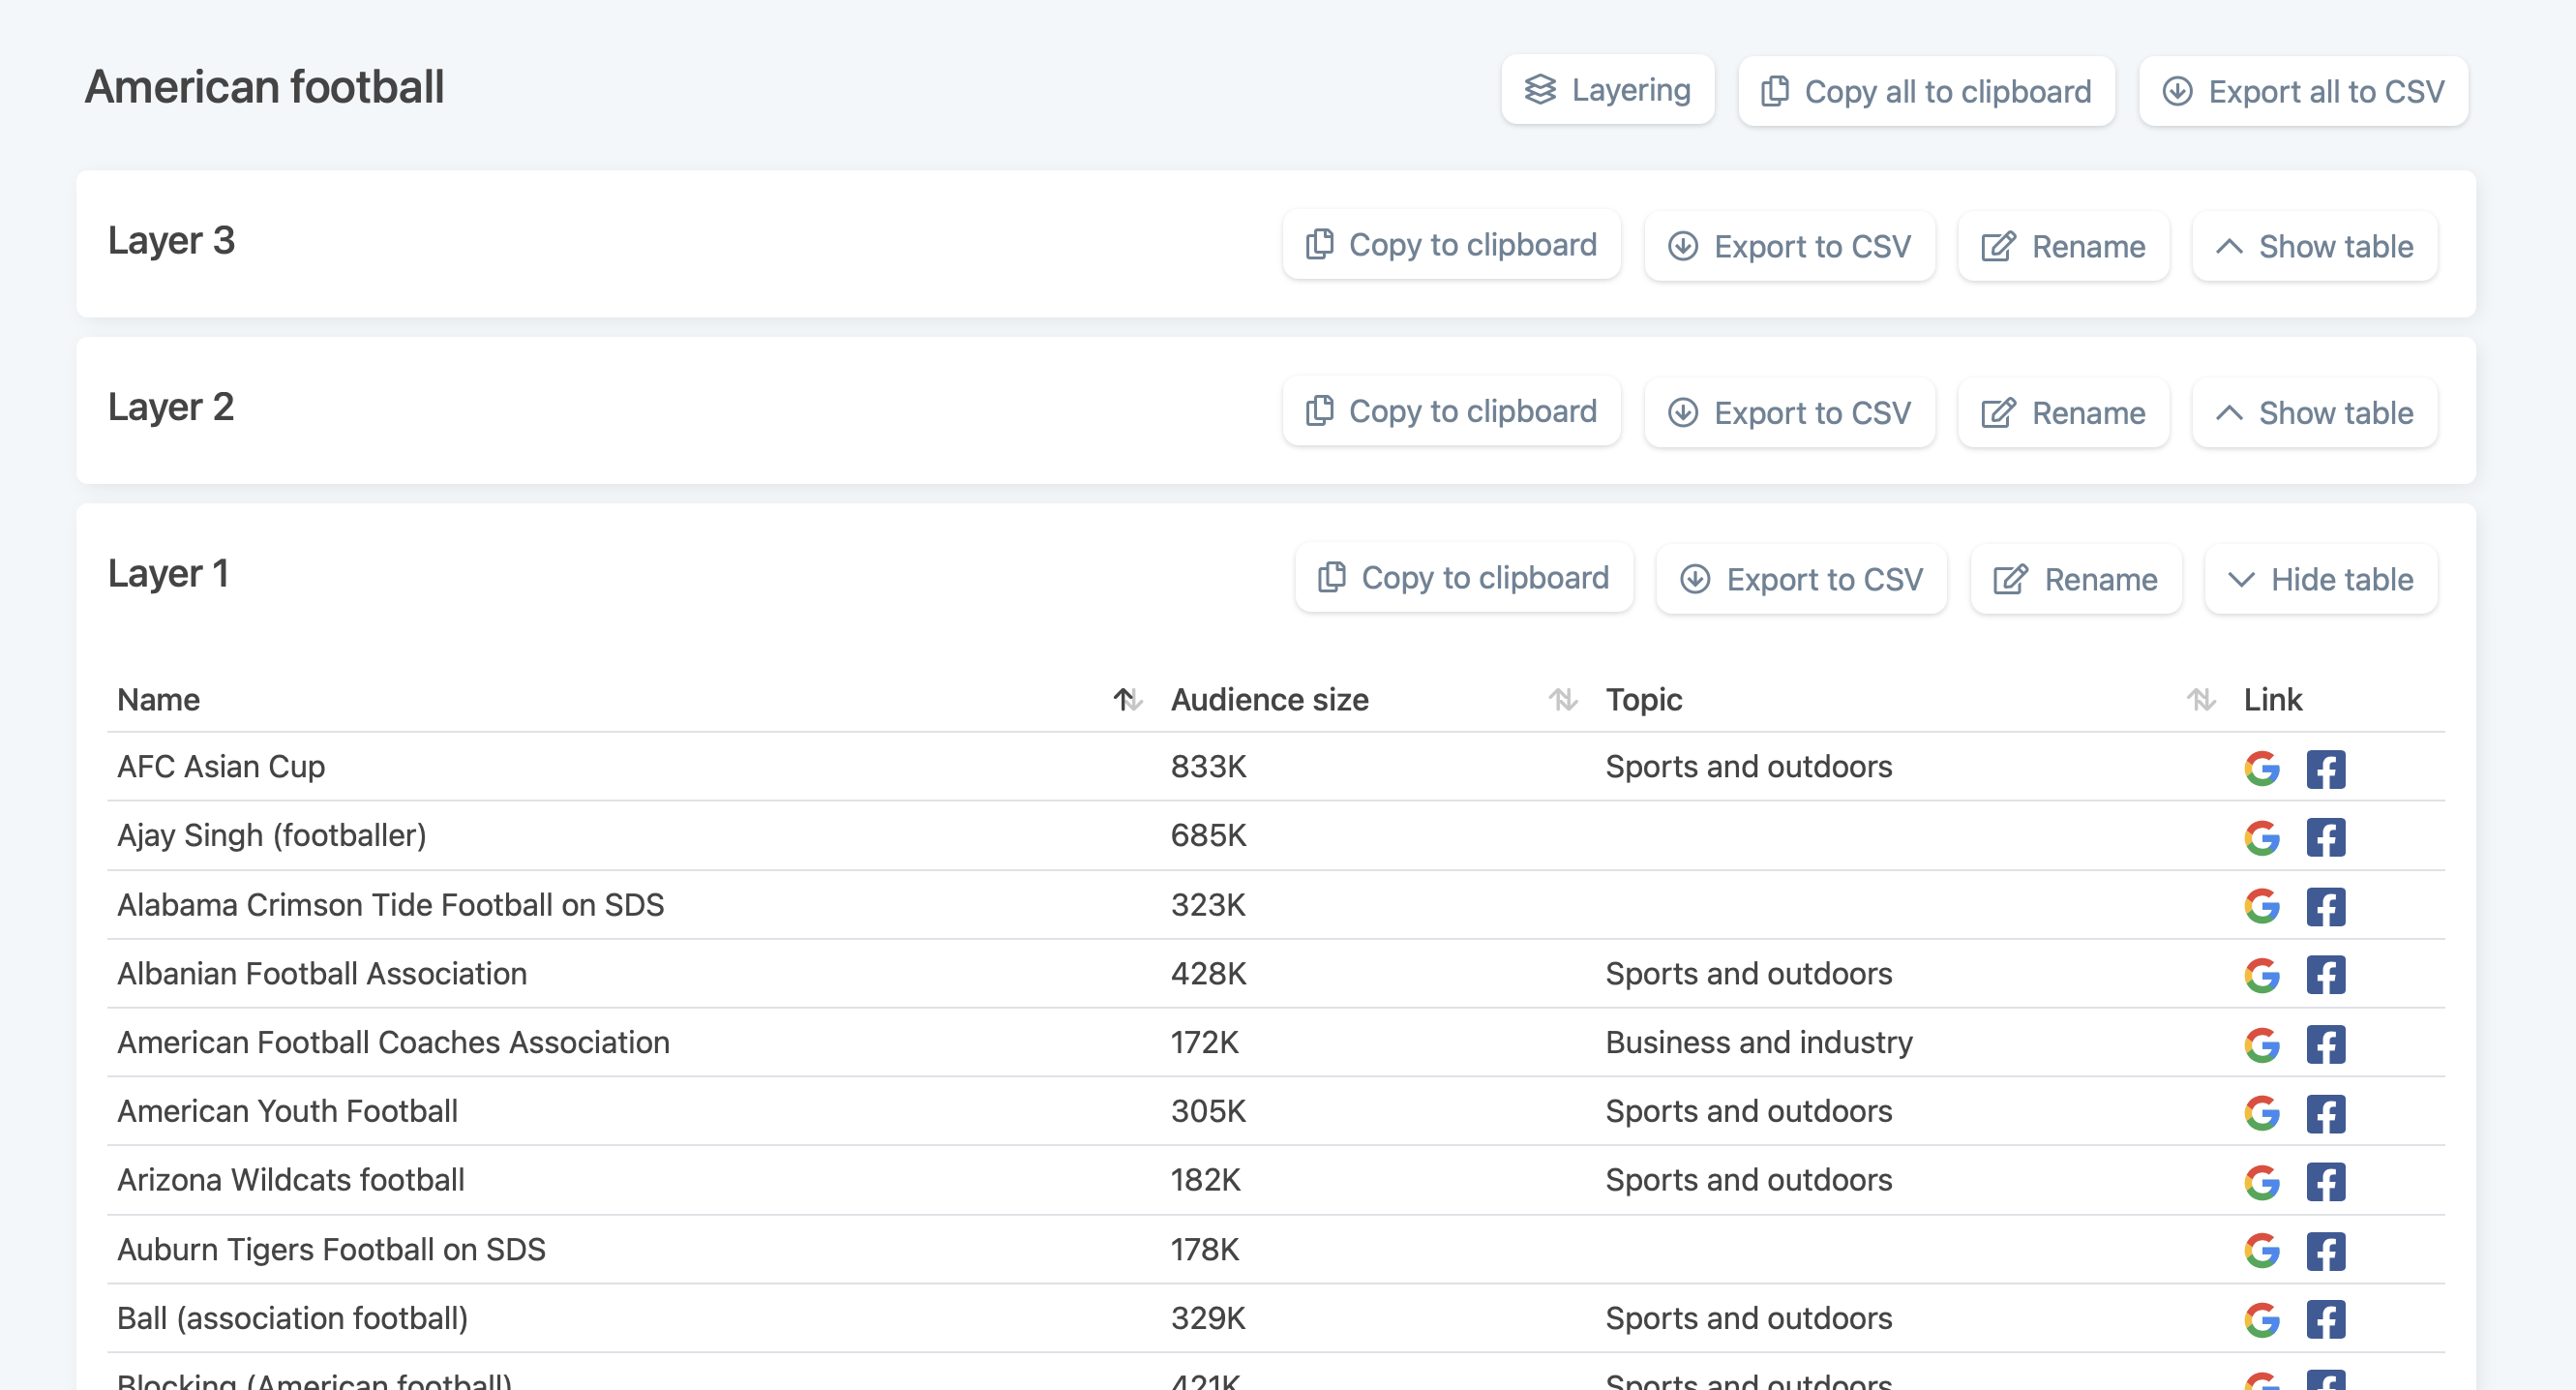
When you have selected a project, you see all your interests in a table, which is the first layer. When you create a project, the first layer is automatically created as well, and all your interests are saved in this first layer.
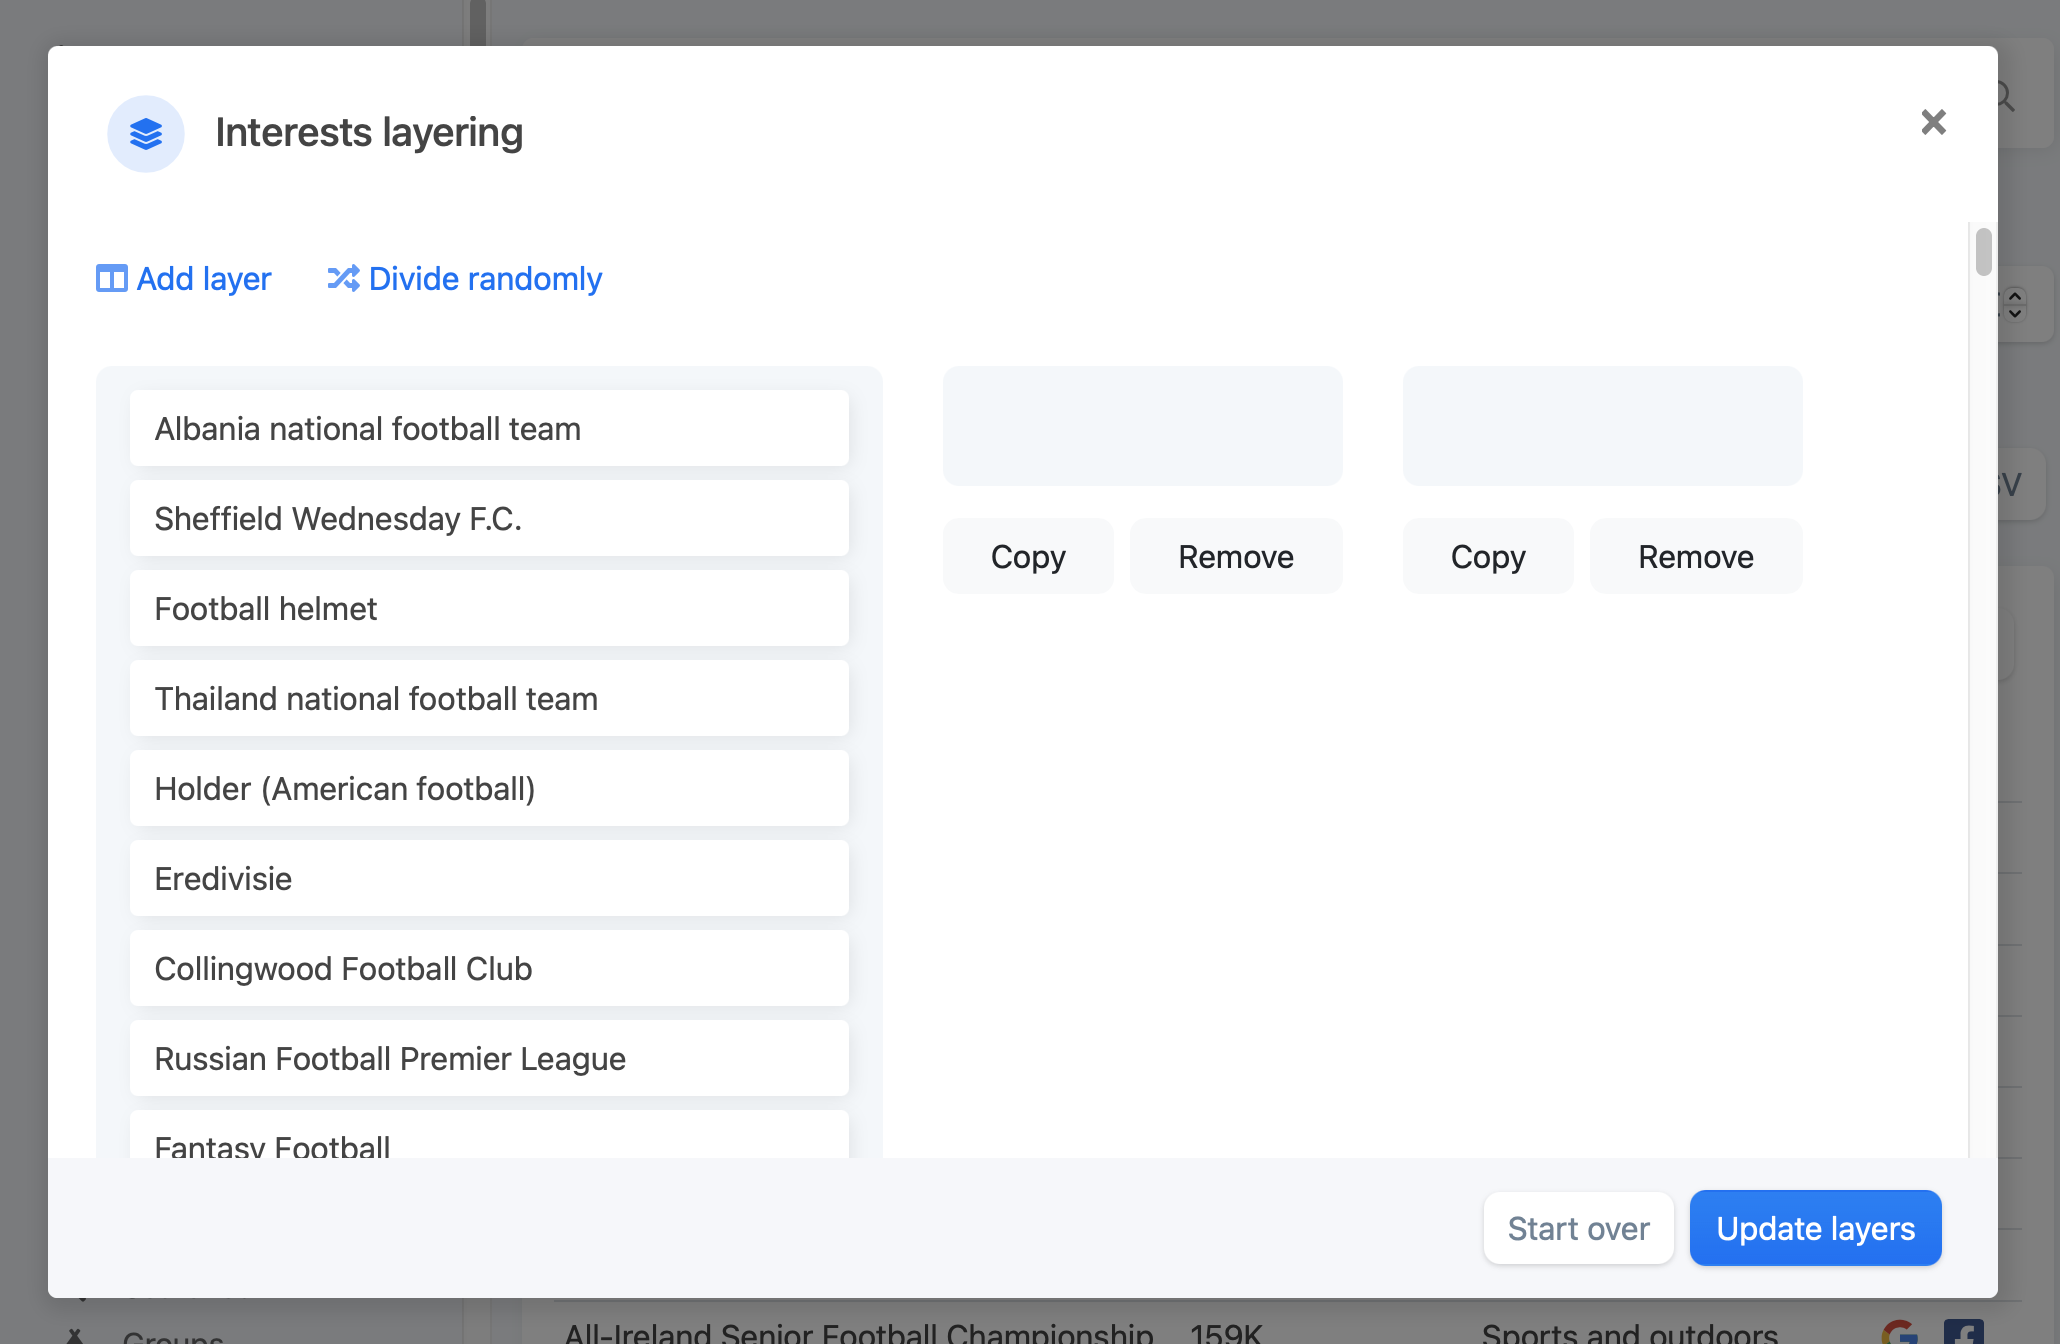
Click the button "Layering" to open the layering window. Here you will see all your interests in one layer. Click "Add layer", to add another layer. You can add as many layers as you want.
Move interests into layers or divide them randomly
With more than one layer, you can now drag and drop interests from each layer into another.

If it doesn't matter what interests ends up in which layer, you can click "Divide randomly", and all of the interests will be divided into the added layers, randomly.
Save new layers
When you are satisfied with how your interests have been divided into layers, you can click "Update layers" at the bottom of the layering window. This creates and saves the layers, so you can come back and edit them later, or use for you audience later.
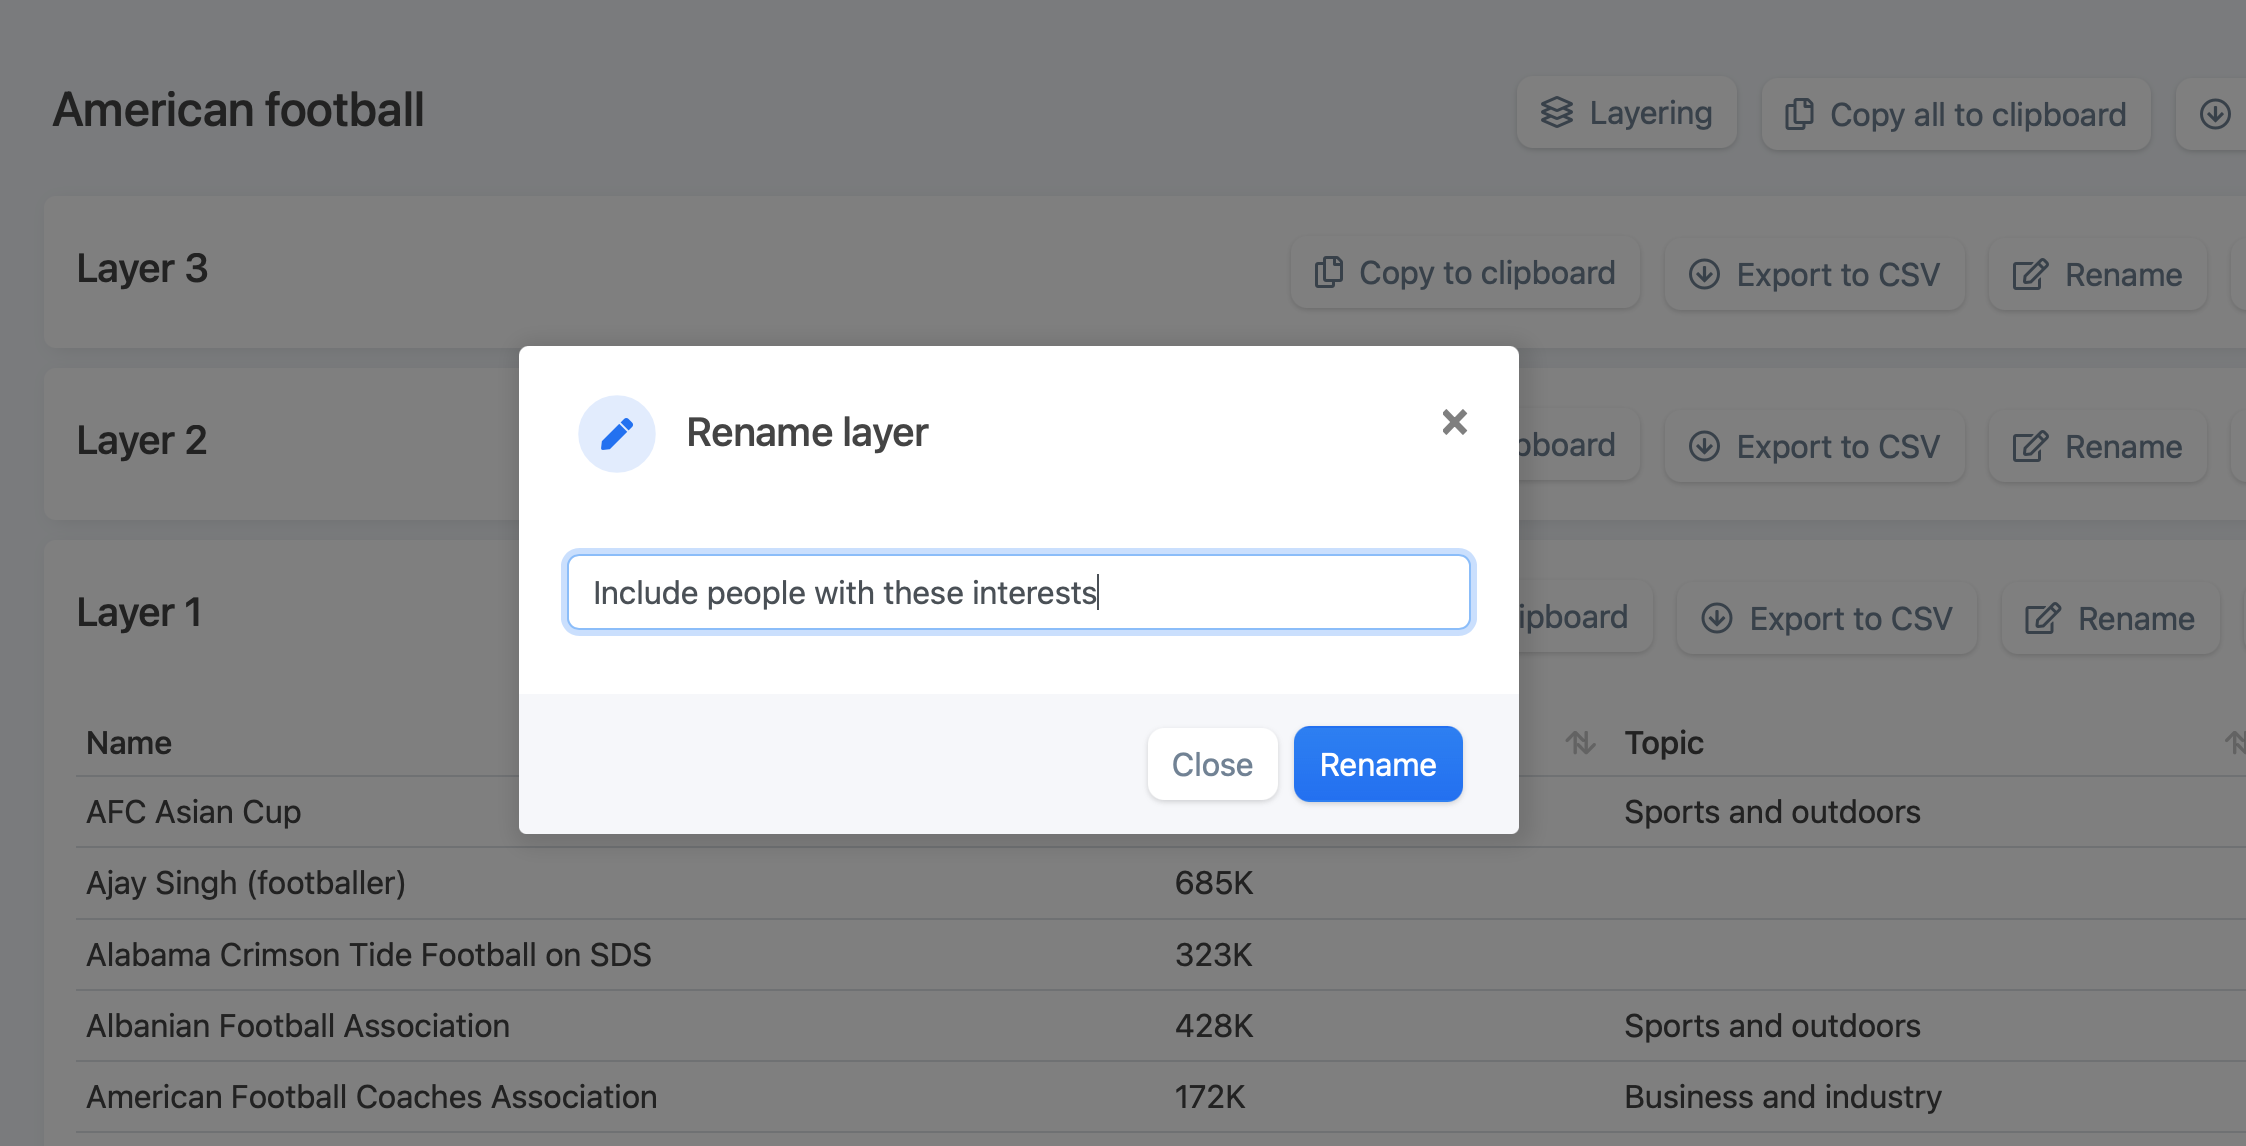
Rename layers
Each layer has a changable name, to make them easily recognizable, since it can be hard to tell the purpose of a layer by looking at the interests.
By default the name of new layers are "Layer" followed by a number. This can easily be changed by clicking the "Rename" button at the top of the layer on the right. A window then opens with only one input field to change the name. Once you have typed in another name, just click "Rename" and it's done.
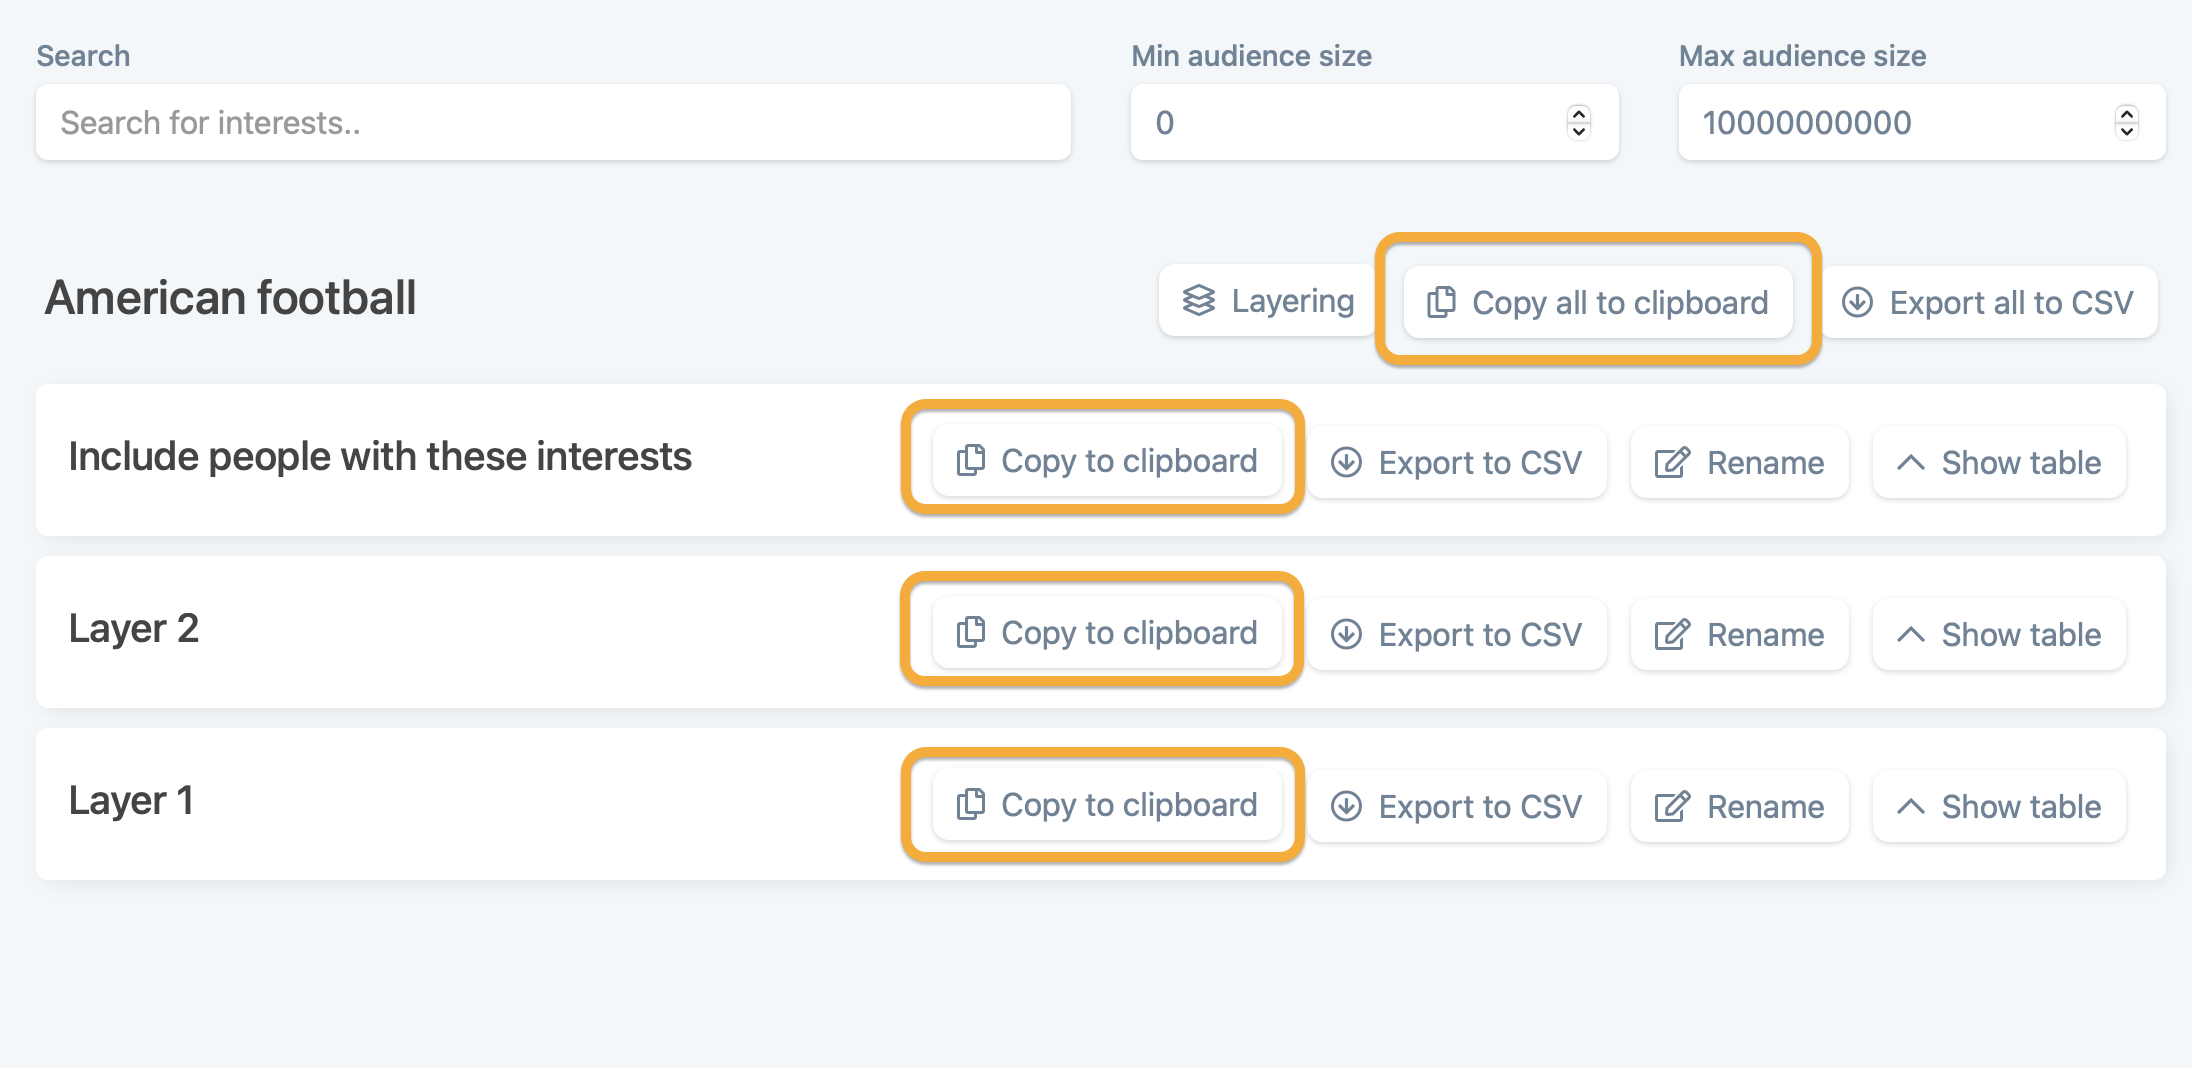
Copy to clipboard
At the top of each layer, there is a button to copy the interests from that layer, into your clipboard. This can be useful when you want to paste the interests into the Detailed Targeting in your audience in Facebooks Ads Manager. You also have the option to copy all the interests from all the layers, by clicking the button "Copy all to clipboard" at the top of the page, next to the "Layering" button.
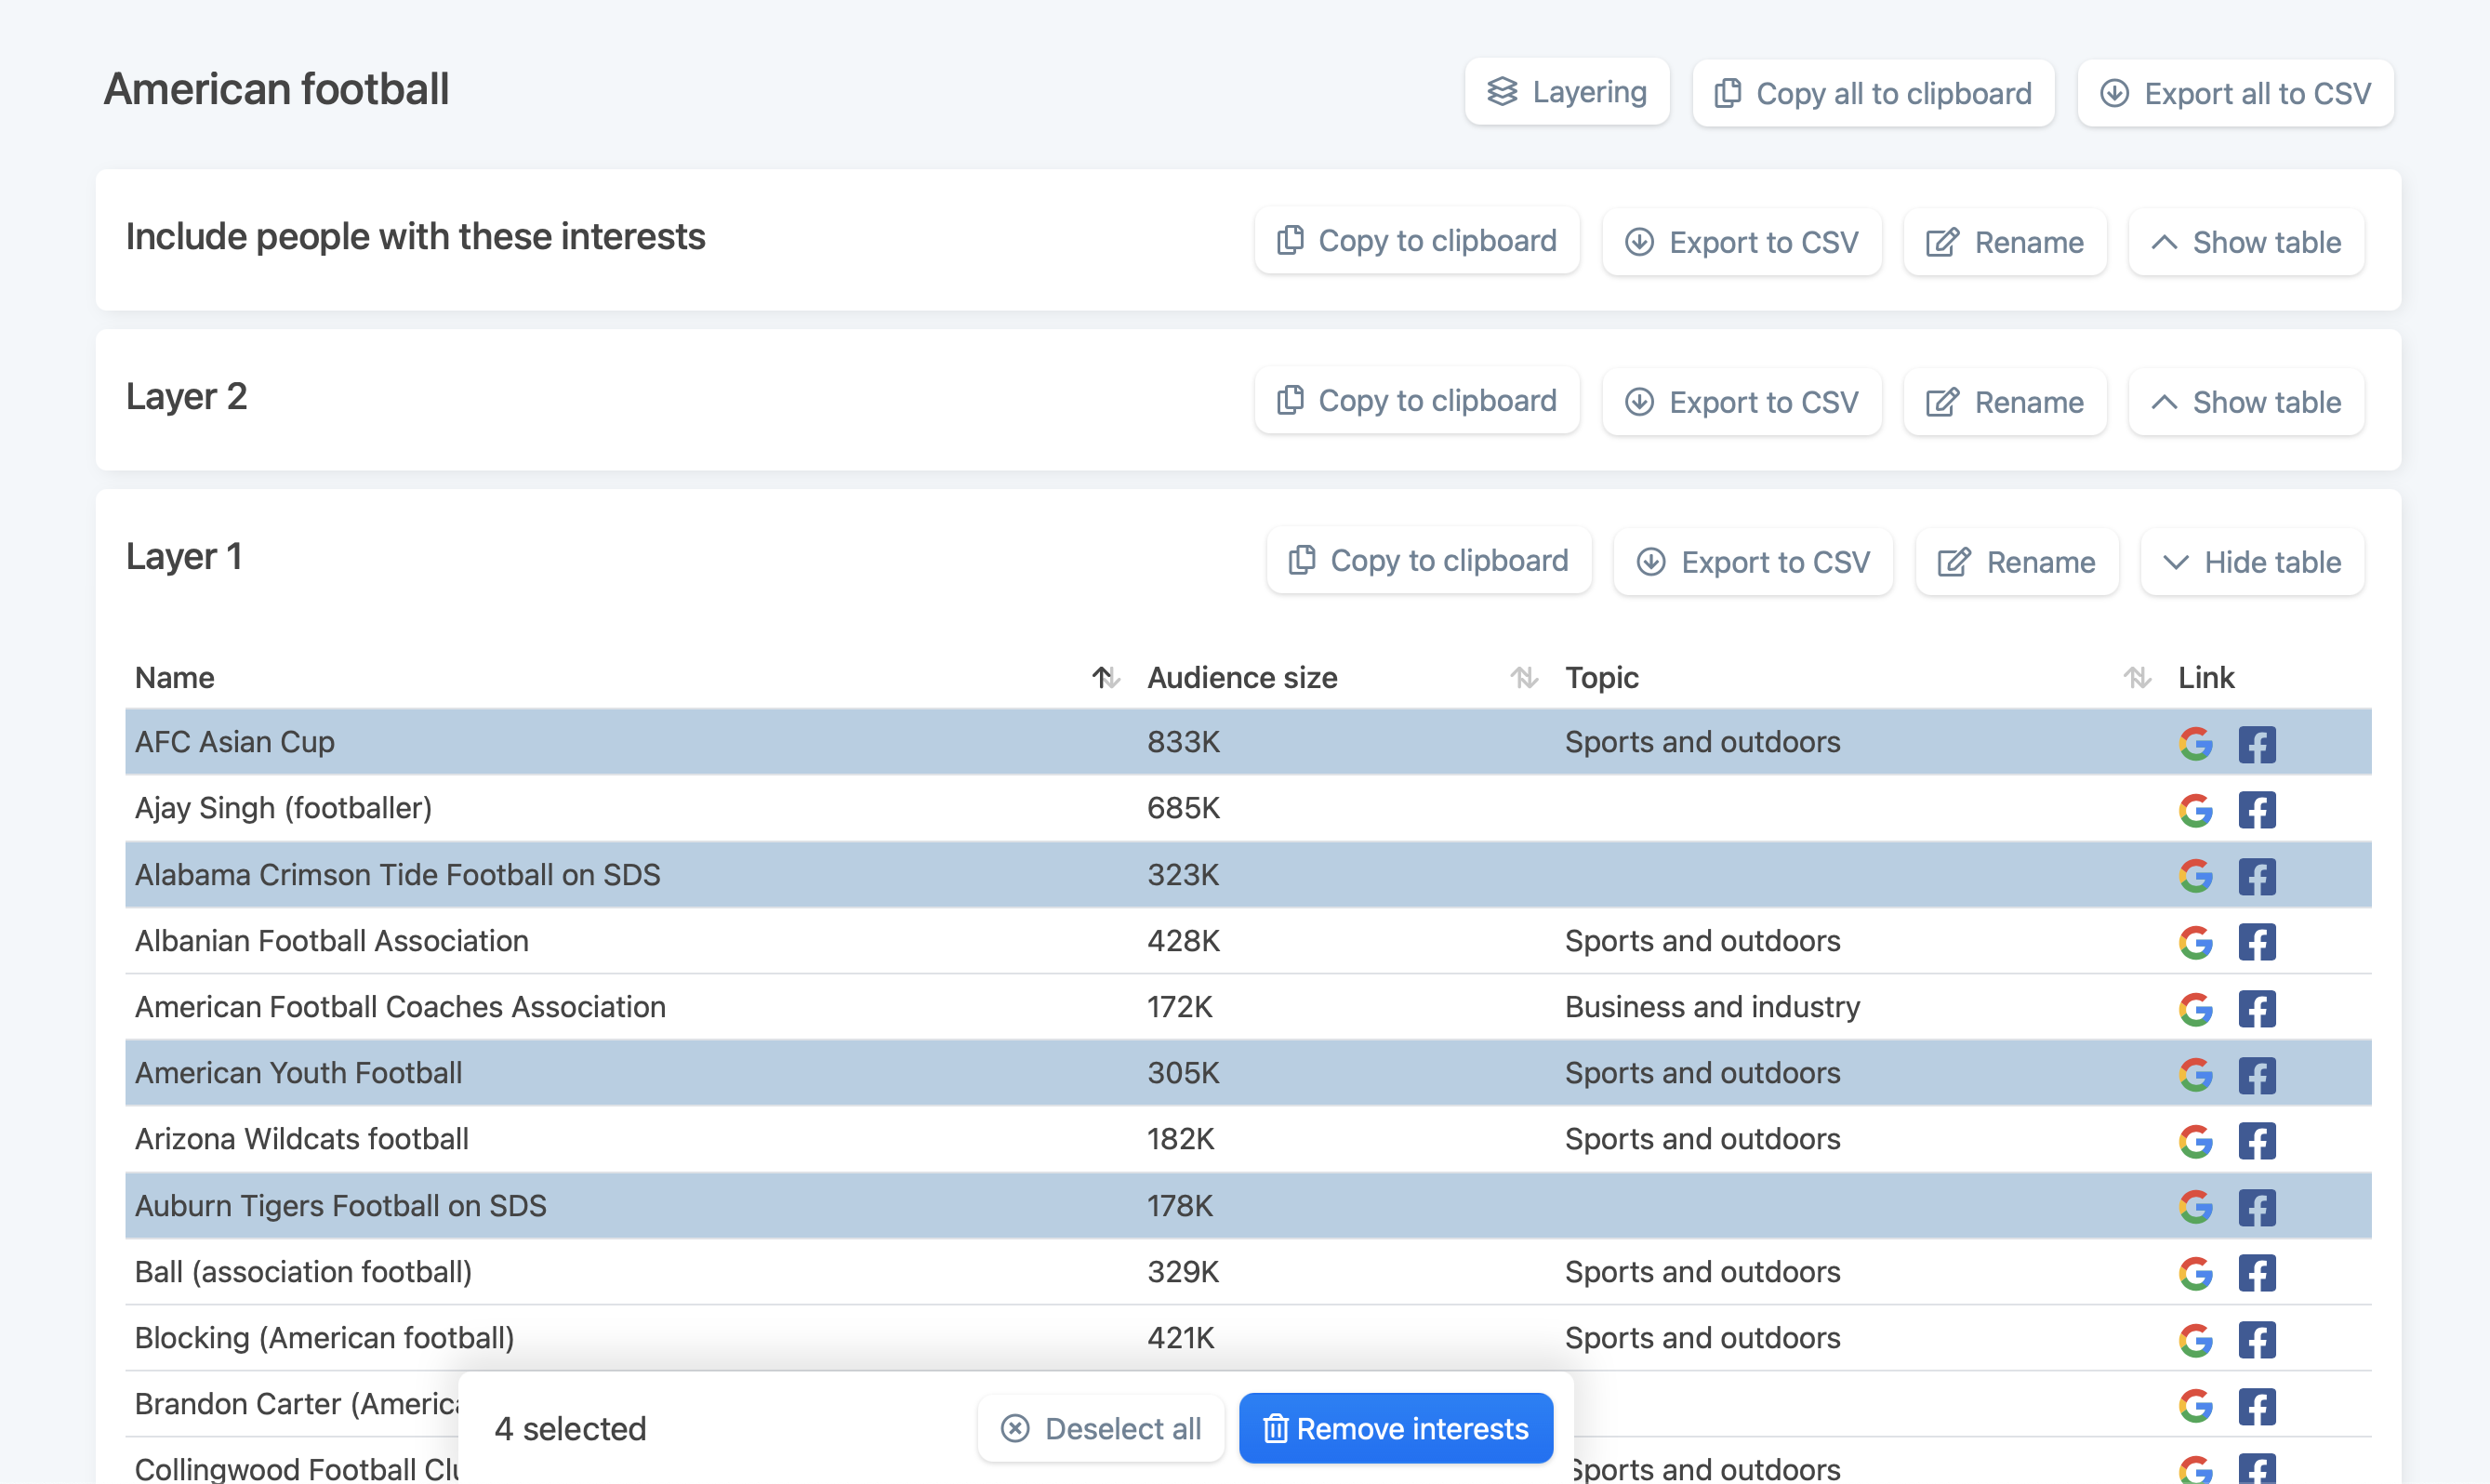
Remove interests from layer
If you have accidentally added some interests to your layer, or added a wrong interests to your project in general, there is a way to remove those interests.
By clicking any interests in any of the layers, they get selected and a toolbar appears at the bottom of the page. Here you have the option to remove the selected interests, or unselect them. You can select as many interests as there is in the project, and by removing them, they are permanently destroyed. But can always be added again to the same project and layer, from a new search.
Glossary and functions
Drag and drop interests (in layering window), by clicking on an interest and holding the mouse down, you can drag interests around and dropping them into other layers. This way you can sort your interests into the exact layers you prefer.
Add layer (in layering window), creates a new empty layer, you can drag interests into. You can create as many layers as you like.
Divide randomly (in layering window), divides your selected interests randomly into the layers you have created.
Copy (in layering window), copies the interests in that specific layer, into the clipboard, for you to paste into the Ads Manager, or somewhere else.
Remove (in layering window), removes the specific layer, and it's interests, but not indefinitely. Clicking "Start over", will restore the interests, but not the layers you have created, additional to the first two layers.
Start over (in layering window), resets whatever you might have done in the layering window, and will restore all the initially selected interests, and divide them into two layers.
Copy to clipboard, copies the interests in that specific layer, which the button is associated with.
Copy all to clipboard, copies all the interests from the whole project, no matter what layer they are in.
Export to CSV, downloads a CSV file with the interests in that specific layer, which the button is associated with.
Export all to CSV, downloads a CSV file with all the interests from the whole project, no matter what layer they are in.
Hide/show table, hides and shows the table with interests in that layer. Clicking "Hide table" hides the table, and the button changes to "Show table". Clicking "Show table" shows the table, and the button changes back to "Hide table".